Step 1: Scan the QR Code
Scan the QR code displayed on your screen to connect to BharatAirFi.

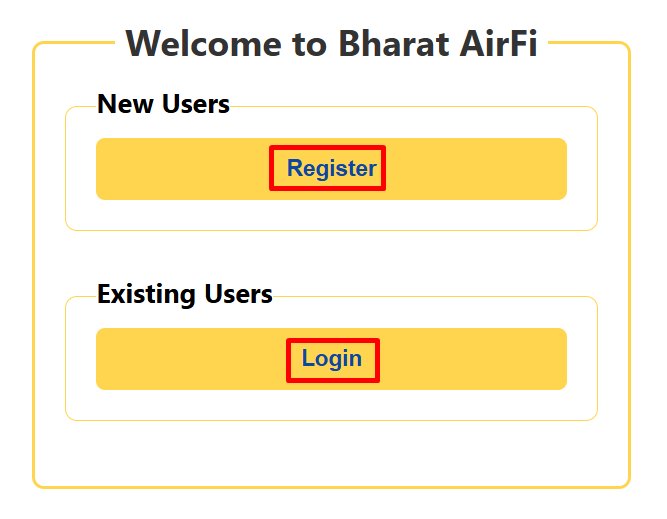
Step 2: Click on Register
If you are a new user, click on the "Register" button to begin the registration process.
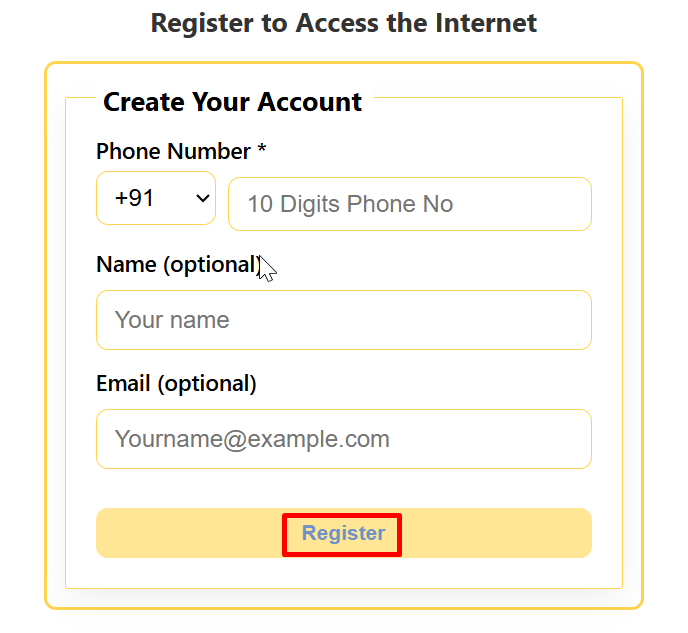
Step 3: Enter Your Details
Enter your phone number, name, and email address to register your account.
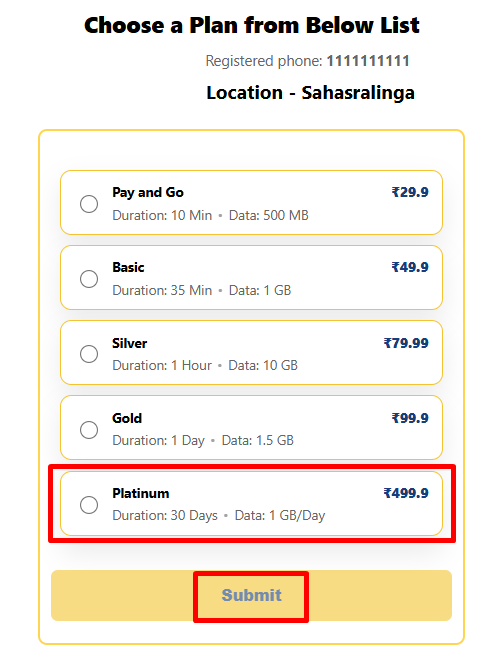
Step 4: Select Your Plan
Choose the plan that best suits your needs and submit your selection.
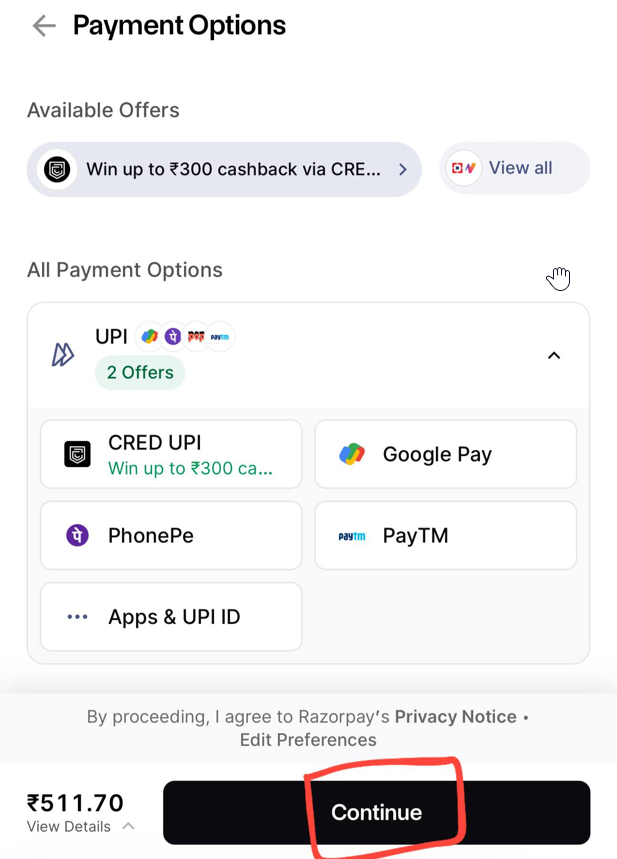
Step 5: Complete Payment
Select your payment method, confirm your details, and complete the payment process.
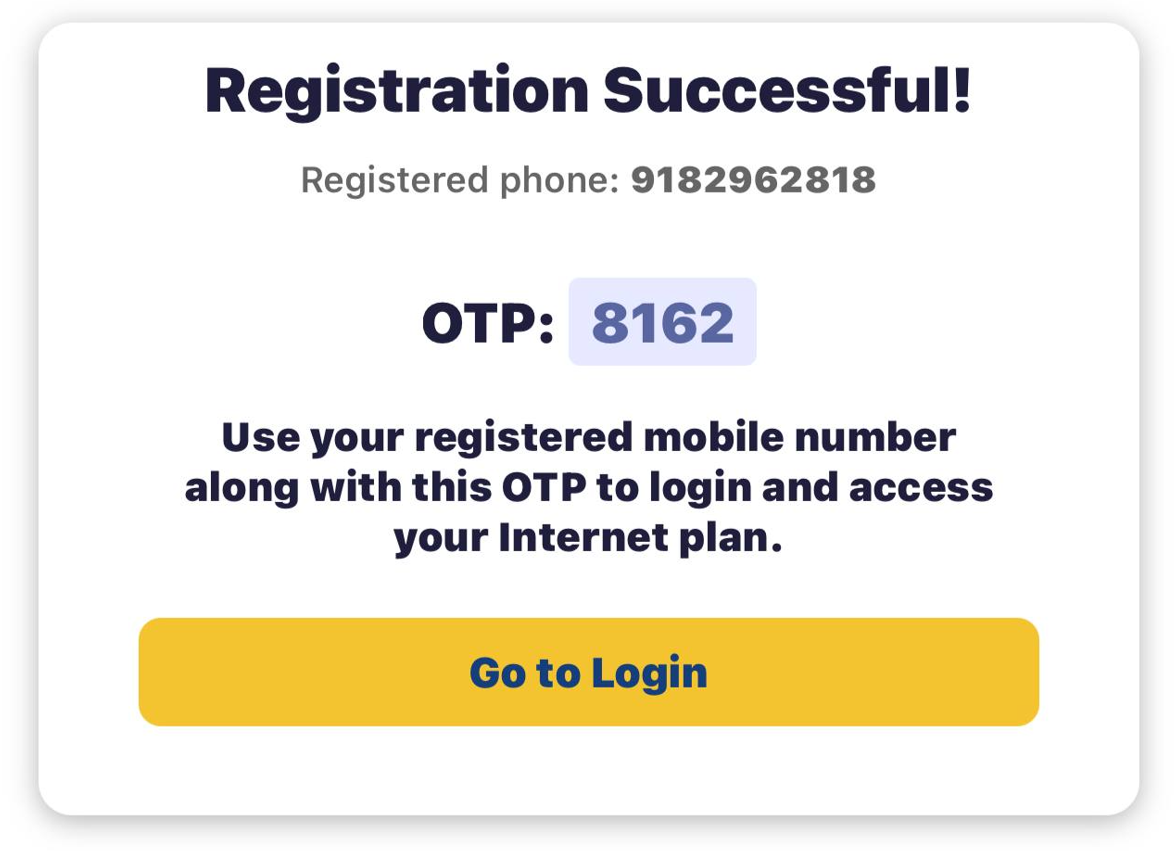
Step 6: OTP Verification
After registration, enter the OTP received on your phone to verify your identity.
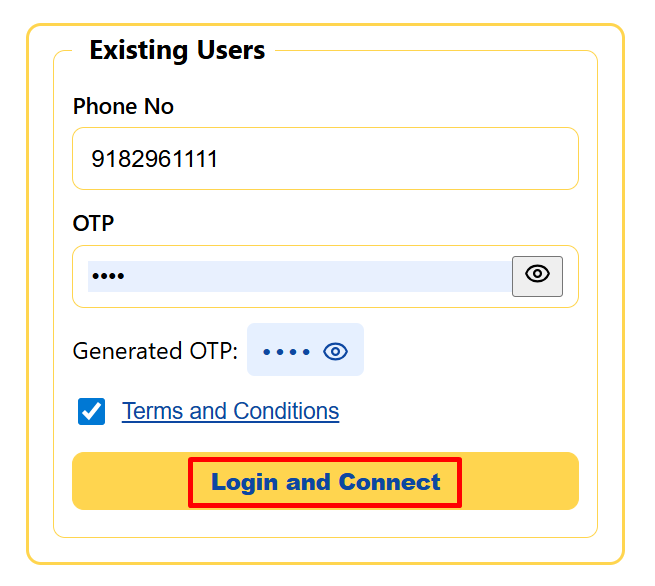
Step 7: Login
Once verified, enter your registered phone number and the OTP to log in.
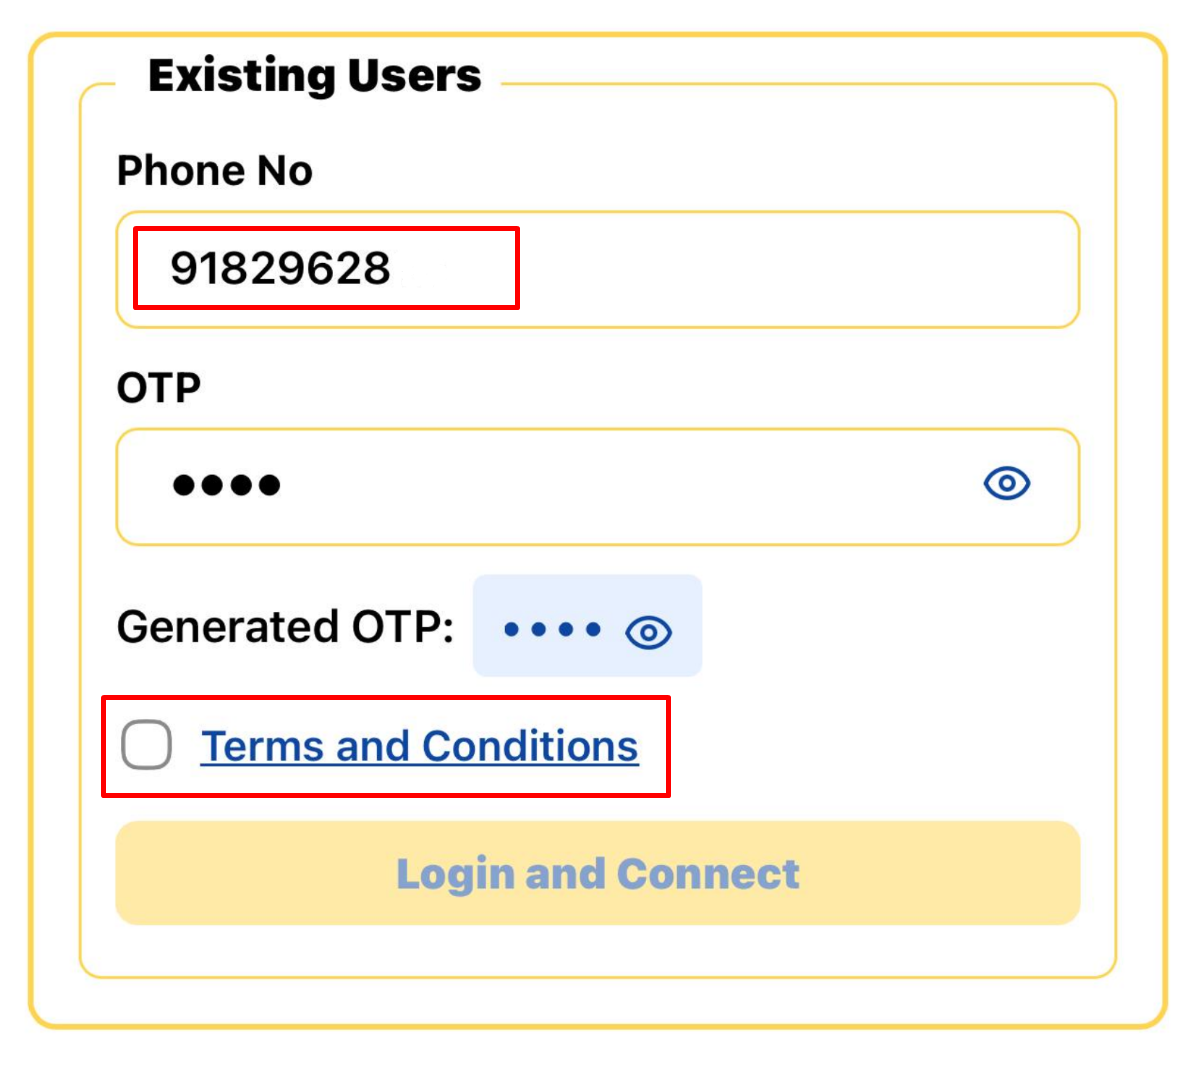
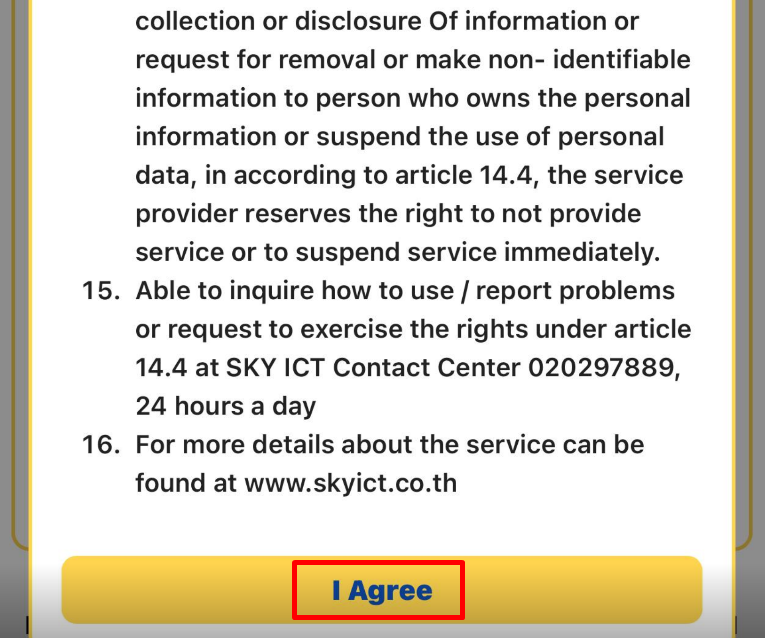
Step 8: Agree to Terms and Conditions
Review and accept the terms and conditions to continue.
Step 9: Click on Login and Connect
Click the "Login" button to complete your connection to BharatAirFi.
Step 10: Watch Location History
Once connected, you can watch the history of your location.

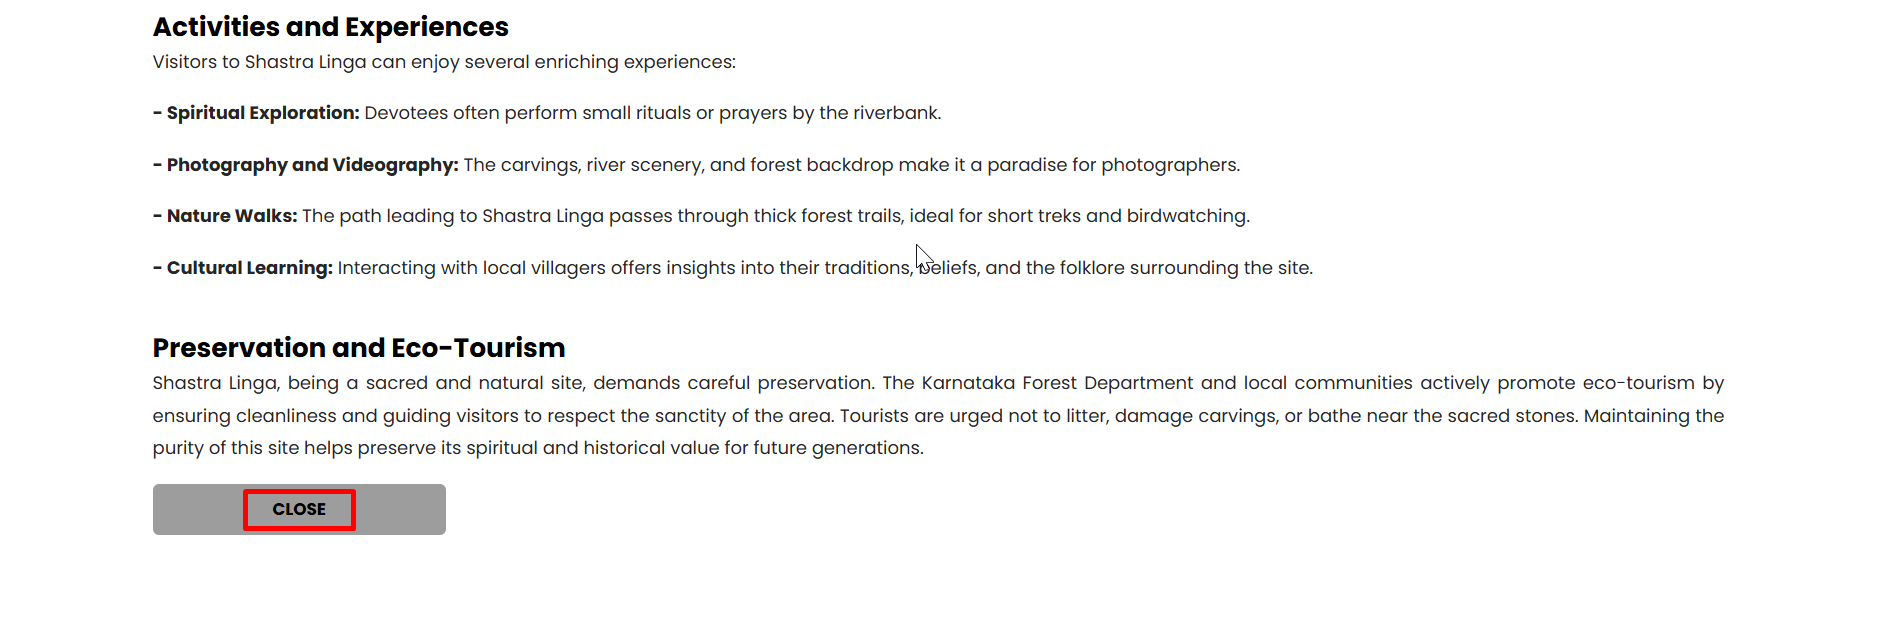
Step 11: Close to Enjoy Wi-Fi
Scroll down and click "Close" to enjoy seamless internet connection via BharatAirFi.